
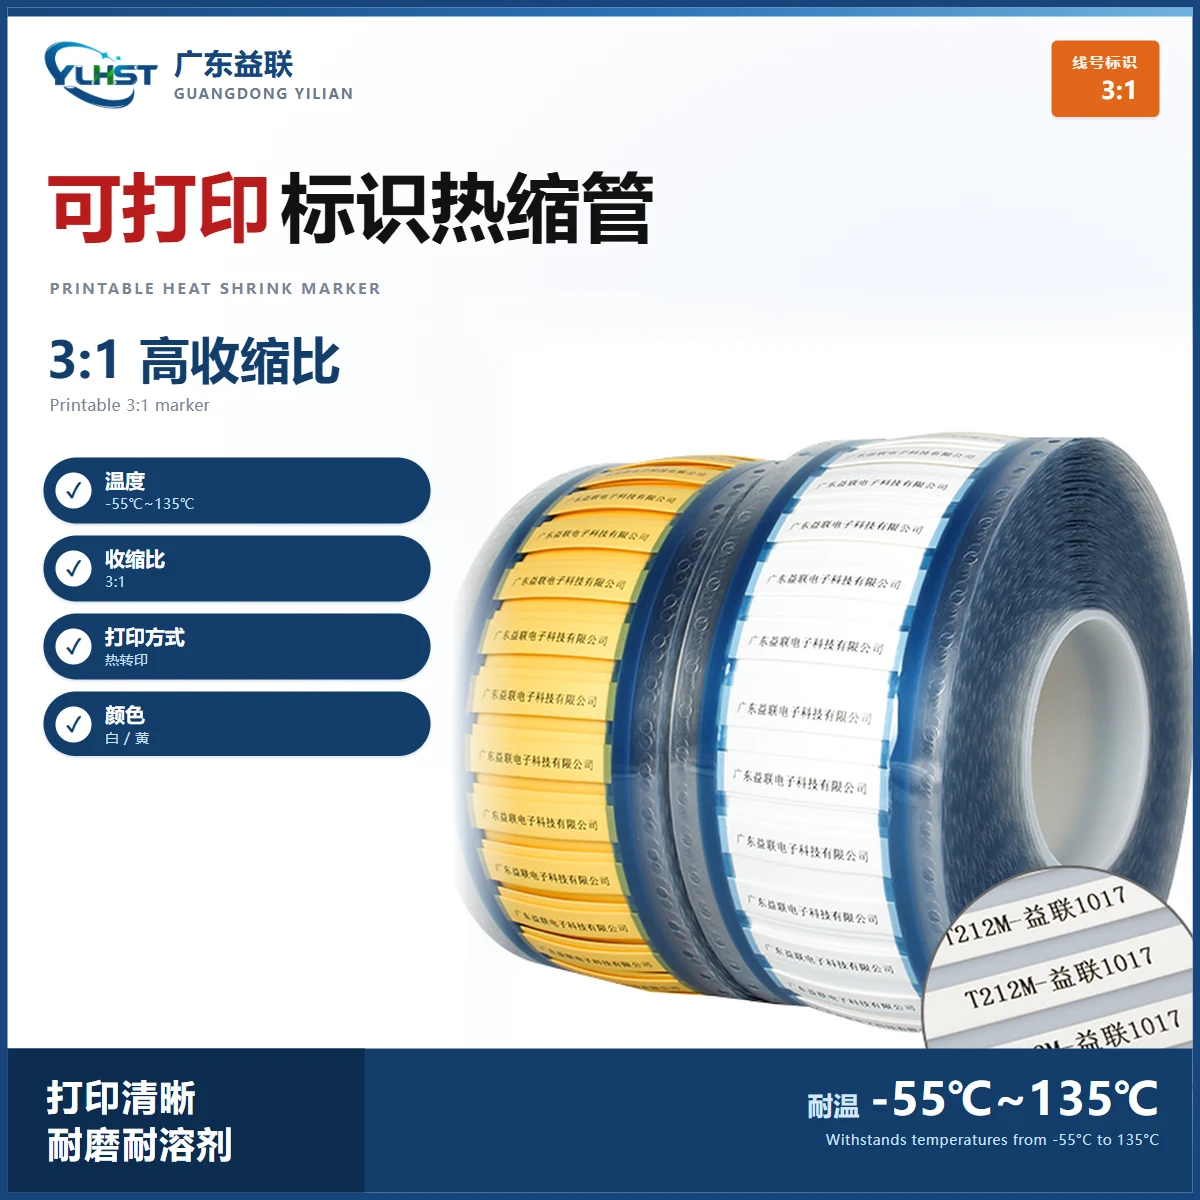
In a control cabinet, a distribution board or a vehicle harness, every conductor needs an identity: a wire number. A heat-shrink marker sleeve puts that number on a shrinkable tube which is slid over the wire and shrunk permanently in place. Compared with handwriting on a label or applying adhesive tape, a printed sleeve resists heat and oil and does not peel off, which is why it is standard practice in electrical assembly and harness work.
What a marker sleeve is
TM135 marker tubing is made from irradiation cross-linked polyolefin, with a 2:1 shrink ratio, a continuous rating of −55 °C to 135 °C and VW-1 flame retardance. What separates it from ordinary single-wall tubing is the surface treatment: the carbon in a thermal-transfer ribbon bonds firmly to the wall, so the print neither bleeds nor lifts after recovery. The sleeve carries circuit numbers, terminal numbers and wire numbers, which is what makes continuity testing, service and drawing traceability possible.
Three printing methods
Marker sleeves are printed in three ways, each with a different place on the shop floor.
The first is a dedicated wire-marking machine. This is the mainstream method in panel building: a small machine using a thermal-transfer ribbon that prints directly onto PVC marker tube or heat-shrink marker sleeve, supporting alphanumeric and symbol sequences, suited to batch and standardised work.
The second is a wide-format thermal-transfer printer followed by cutting. For large sleeve sizes or multi-line information, the industrial printer runs a whole reel and the printed tube is cut afterwards — high throughput and more print area.
The third is laser marking, which ablates the surface of the tube. Abrasion and solvent resistance are the best of the three, but the equipment investment is high, so it suits defence and aerospace work where marking durability is critical.
Whichever method is used, print a test piece and shrink it before running the batch. Look for clear characters and no bleed or distortion; only then start production.
What to print and how to set the printer
The content must match the electrical drawing one-to-one: wire number, terminal number, circuit number. Print orientation should be uniform so a technician reads every sleeve from the same direction, and font height must suit the sleeve diameter — small tube, small type — otherwise the characters compress and distort.
| Item | Recommended setting | Note |
|---|---|---|
| Print method | Thermal transfer | Use a resin-based ribbon rated for abrasion and heat |
| Character height | 1/3 to 1/2 of the sleeve ID | Φ1.6 to Φ3.2 mm takes 2.0–2.5 mm characters |
| Print density | Medium to dark | Judge after a shrink test, not on the flat sleeve |
| Orientation | Uniform, same direction | Consistent within a cabinet for readability |
| Content length | 12 characters or fewer per sleeve | Split longer strings across two sleeves |
| Shrink temperature | 110–130 °C hot air | Heat evenly; avoid scorching one spot |
Four acceptance checks
Whether a sleeve is printed well cannot be judged at the printer. Judge it after recovery and after time in service.
First, legibility: character edges sharp, no broken or missing strokes. Second, adhesion: several wipes with an alcohol swab and nothing lifts. Third, stability after recovery: the characters stay readable and are not stretched into a smear. Fourth, heat resistance: no yellowing or blurring at 135 °C continuous service. Sample each batch for a shrink test and a rub test before release to the line.
Troubleshooting
| Problem | Likely cause | Fix |
|---|---|---|
| Print pale or faint | Ribbon temperature or density too low | Raise print density, fit the correct resin ribbon |
| Characters distort after shrinking | Sleeve too small, type stretched | Go up one sleeve size, reduce compression |
| Print wipes off | Ribbon not matched to the sleeve surface | Use marker-grade ribbon, not general-purpose ribbon |
| Choosing a colour | Standard is black on white | Use black on yellow to mark high-voltage or special circuits |
| Orientation inconsistent | Template not fixed to one direction | Lock the print direction in the template |
| Won't fit on small tube | Characters below Φ1.6 mm become unreadable | Shorten the number or use a lighter weight |
| Sleeve migrates after recovery | Not pushed home, or under-shrunk | Seat against the terminal shoulder and heat fully |
Marker management across a cabinet
A sound process runs in four steps: generate the wire list from the schematic, print and cut in batch, fit and shrink each sleeve against the drawing during wiring, then verify with a continuity tester. TM135 handles the heat of drives and contactors inside a cabinet at 135 °C and VW-1, and colours or print colours can separate voltage levels where that matters. Good marking is not cosmetic — it is what makes wiring, maintenance and factory acceptance fast and traceable.